AX1737
Viewing jobs and event handlers in the Web Client
In the Scheduler area of the Web Client, you can view Scheduler jobs and event handlers.
Viewing jobs
You can view any job in the Scheduler Jobs Library that you have permission to access.
Scheduler jobs are read-only in the Web Client. You can view the job properties to better understand the purpose of a particular job and the tasks that it performs. The Web Client does not support creating new jobs, editing existing jobs, or deleting jobs. If you need to perform any of those actions, you must use the Desktop Client General term for using either the Excel Client or the Windows Client, both of which are installed to the user's desktop.. For more information, see Scheduler.
To view a Scheduler job:
-
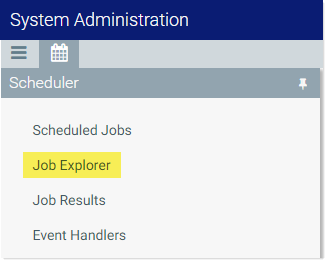
On the Scheduler page, from the Scheduler panel, select Job Explorer.
-
In the Job Explorer page, locate the job that you want to view. This page lists all jobs in the Scheduler Jobs Library that you have permission to access.
- Hover your cursor over the job, then click the View icon
 in the far right column.
The job opens, and the Scheduler panel updates to show the viewable sections of the job. You can switch between sections by selecting section names in the Scheduler panel. By default, the General section is shown.
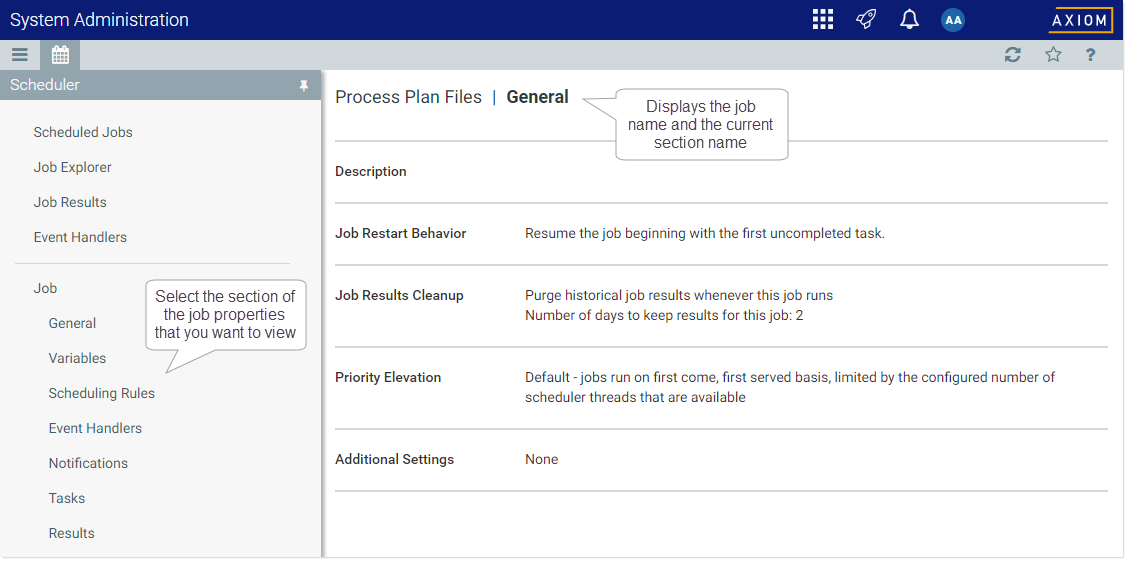
Example job properties
All job properties are defined in the Desktop Client. The following is a brief overview of the job properties shown in the Web Client.
| Section | Description | More Information |
|---|---|---|
|
General |
General job properties that impact the job's processing priority and processing behavior. |
|
|
Variables |
Variables used by the job.
|
|
|
Scheduling Rules |
Scheduling rules to schedule jobs for future execution. If the job has an active scheduling rule, the job will be executed according to the rule (one time or recurring, depending on how the rule is configured).
|
|
|
Event Handlers |
If the job is designed to be run using an event handler, the event handler name is listed here. The Execute As property determines whether the job is run as the requester or the job owner when it is triggered for execution. |
|
|
Notifications |
Notification settings for the job. The job can be configured to send email notifications when the job completes, or only when the job has errors. Variables can be used to determine the notification recipients. |
|
|
Tasks |
Tasks to be executed by the job, listed by name and task type. No other task properties are available in the Web Client. If you want to see more information about the task, you must view the job in the Desktop Client. |
|
|
Results |
Detailed results of the previous job executions. Results are organized by execution ID and displayed in execution order (the most recent listed first). |
You can view the event handlers that are defined in the system. Event handlers are used to trigger Scheduler jobs based on an event.
For example, an Axiom form can have a Button component that is configured with the RunEvent command. When a user clicks the button, the specified event name is passed to Scheduler, and any jobs associated with that event are triggered to run. Variable values can also be passed from the form to the Scheduler job as part of this process.
Event handlers are read-only in the Web Client. If you need to create, edit, or delete an event handler, this can only be done in the Desktop Client. For more information, see Managing event handlers.
To view Scheduler event handlers:
-
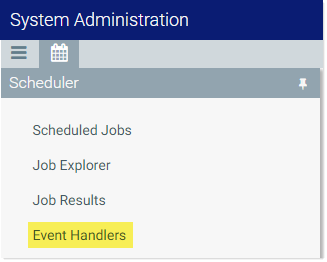
On the Scheduler page, from the Scheduler panel, select Event Handlers.
The Event Handlers grid lists all of the event handlers as follows:
-
Event Name: Name of the event handler. This is the name used in features such as RunEvent to trigger execution of a Scheduler job.
-
Job: Name of the job where the event name is used. When the event is raised by a feature such as RunEvent, this job will be executed.
-
User: The user identity that will be used to execute jobs triggered by the event handler. If the event handler is configured to run as the requester, then Requester is listed here. If the event handler is configured to run as the owner, then the owner name is listed here (either a specific user name, or System).
