Add a quick measure
After you configure your measure table properties, you can add quick measures.
- In the table list, click the ellipsis associated with a measure table.
- Click Add quick measure.
- In the Select a template dialog, click to a measure to select it, and then click Continue.
- In the Create Measure dialog, type a name for your measure. The rest of the fields vary based on the specific measure type that you selected. You can drag columns from the table list on the left into the parameter fields. You can only drag date columns into the Date parameter field.
- Review the Formula preview area to verify that the intended formula is populated.
- Click Create Measure.
- In the table list, click the measure formula to open and edit the table properties and display properties.
- Click Save.
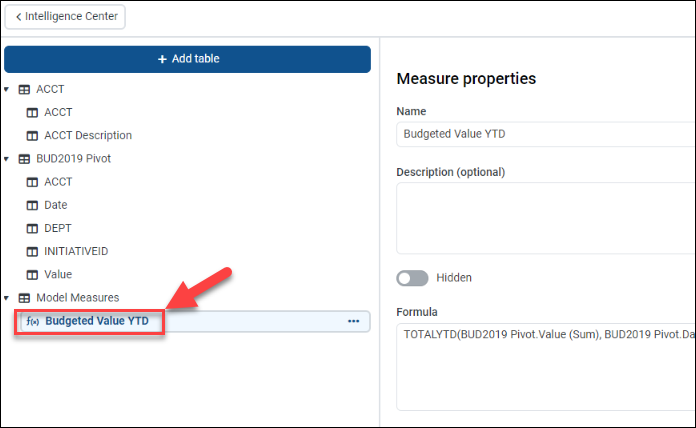
The Measure Properties panel includes the following key fields for the measure formula:
| Field name | Description |
|---|---|
| Formula | Displays the Data Analysis Expression (DAX) formula used for the measure. To modify the formula, click Edit, which opens the Create Measure dialog. |
| Display format | Select the display format: Number, Currency, Percent, or Decimal. |
| Decimal places | Select the number of decimal places to use. For example, three decimal places is 1234.123. This option is not available for the Number format. |
| Use 1000 separator | Click the toggle to use a comma separator (,) for values of 1,000 and above. |
| Negative numbers | Select a setting for negative numbers. The options include -1234 or (1234). |
NOTE: For more information on measure types, refer to Measure types.
