Add a new revenue distribution
-
On the EDS home page, under Data enhancement and refinement, click Define revenue distribution.
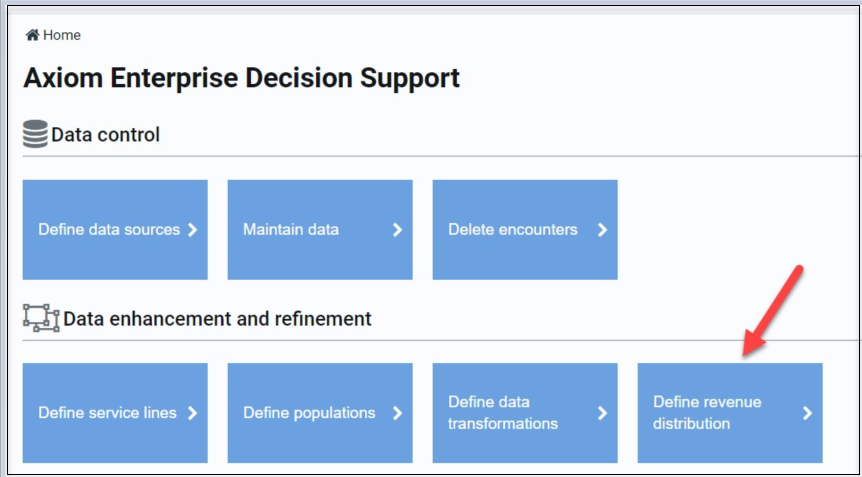
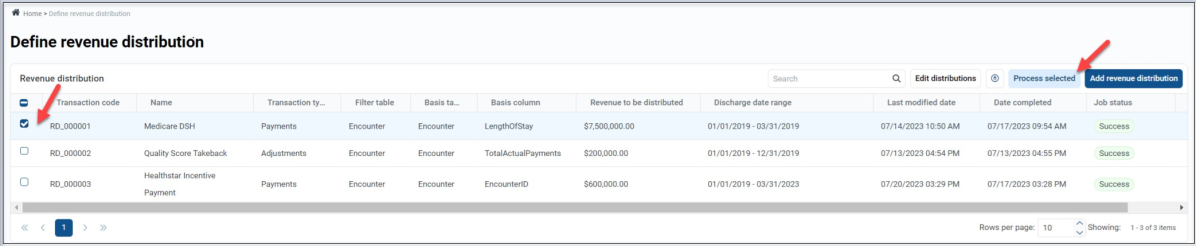
The Define revenue distribution page shows detailed information for previously created rules.
-
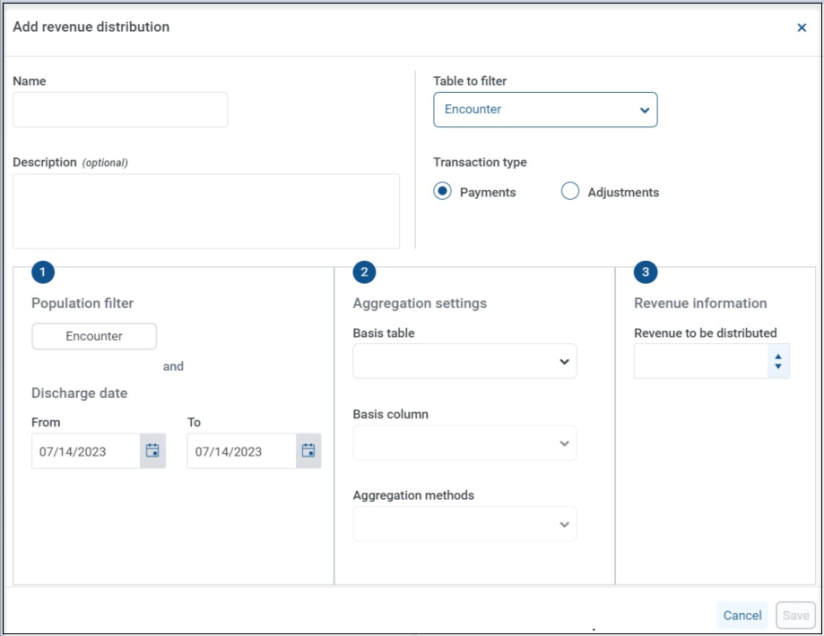
Click Add revenue distribution to start a new revenue distribution.
-
Enter Name and Description.
TIP: Avoid including the date or amount information in the name and description so that you can easily reuse revenue distributions in the future.
-
Under Table to filter, select one of the following tables from which to build a filter. Use the filter to select the population of encounters to receive this revenue distribution:
-
Cost Detail
-
Encounter
-
EncounterCPT
-
EncounterDiagnosis
-
EncounterPatient
-
EncounterPayor
-
EncounterProcedure
-
EncounterSurgical
This table name appears on the create filter button in [Section 1] Population filter and Discharge date.
-
-
Select Payments or Adjustments as the Transaction type – .
Your selection assigns the transaction as either PAY or ADJ on the EncounterPaymentTable.
NOTE: The amount you enter in [Section 3] Revenue information can be a positive or negative number that increases or decreases the transaction type you selected in this step. -
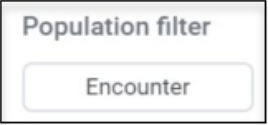
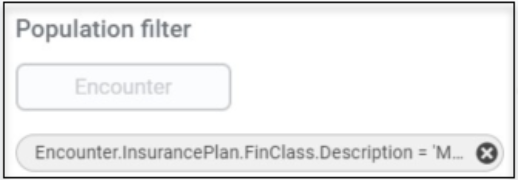
Select the encounters to receive the revenue distribution by clicking Population Filter. (In the following example, Encounter was selected as the table to filter.)
-
Create the data filter and click OK. The filter appears under the Population filter button.
-
To edit the data filter, click the words in the filter. To delete, click the X to the right of the filter.
-
Enter the Discharge date range in the From and To boxes,. You can also update the dates from the Define revenue distribution page.
-
Access Aggregation Settings [Section 2] and select a table from the dropdown to configure the basis for spreading the revenue across the encounter population:
-
Cost Detail
-
Encounter
-
EncounterCPT
-
EncounterDiagnosis
-
EncounterPatient
-
EncounterPayor
-
EncounterProcedure
-
EncounterSurgical
-
-
Select the table that contains a field to count or sum to drive a specific share of the revenue to each encounter.
-
Select the Basis column from the dropdown (available columns are based on the table you selected in the previous step).
-
Select the Aggregation method:
-
Sum
-
Count
-
DistinctCount
-
Max
-
Min
-
Average
Use the Aggregation method together with the basis column to calculate a value for each encounter in the population. The proportion of an encounter’s value to the values calculated for the entire population determine the proportion of revenue that is distributed to that encounter.
-
-
Under [Section 3] Revenue information, enter the Revenue to be distributed amount. You can enter the amount as a positive or negative value to increase or decrease the Transaction type you selected. You can also update the amounts from the Define revenue distribution page.
-
Click Save.