Organize drill-down reports
The initial page displays your organization’s drill-down report folder structure with all previously saved reports. From the Drill-Down Reports page, you can add a new folder to the structure, search for and open a saved report, or click New Report to access the report builder.

The system is delivered with folders for Claims, Line Items, and Axiom Reports. You can create additional folders and subfolders to organize reports as necessary.
IMPORTANT: When you make a change to any of the folders, it affects all users.
Add report folders
Determine whether the new folder should be for a new category (folder) or a subcategory (subfolder).
-
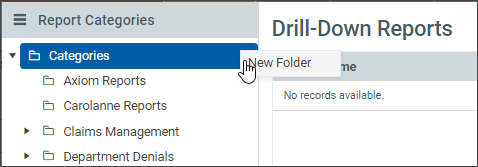
To add a new category folder, click the ellipses to the right of the Categories folder.
-
Click New Folder.
-
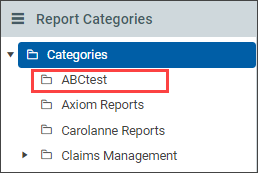
Enter the name of the new folder and then click Create folder.
The new folder is added into the structure in alphabetical order.
-
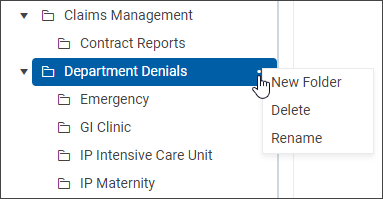
To add a new subcategory folder, click the ellipses to the right of the existing subfolder.
-
Click New Folder.
-
Rename the subfolder and press Create Folder.
If a folder has subfolders, click the arrow icon (
 ) to display all subfolders.
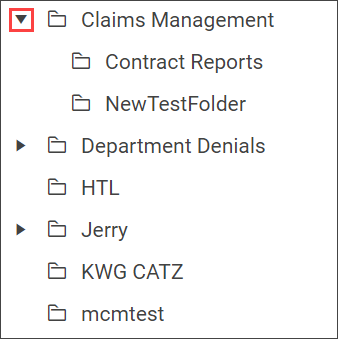
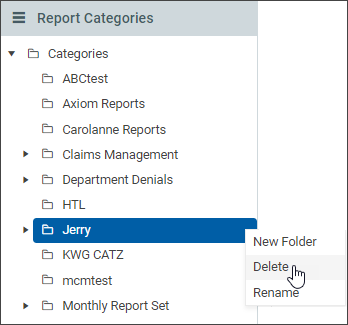
Edit or delete report folders
You can rename or delete report folders and subfolders.
- To rename a folder or subfolder, click the ellipses and select Rename.
- Edit the name and click Rename Folder.
- To delete a folder or subfolder, click the ellipses and select Delete, and then click OK in the confirmation dialog.
Move a report
-
Click the Details (
 ) icon to open the Update Report Details dialog box.
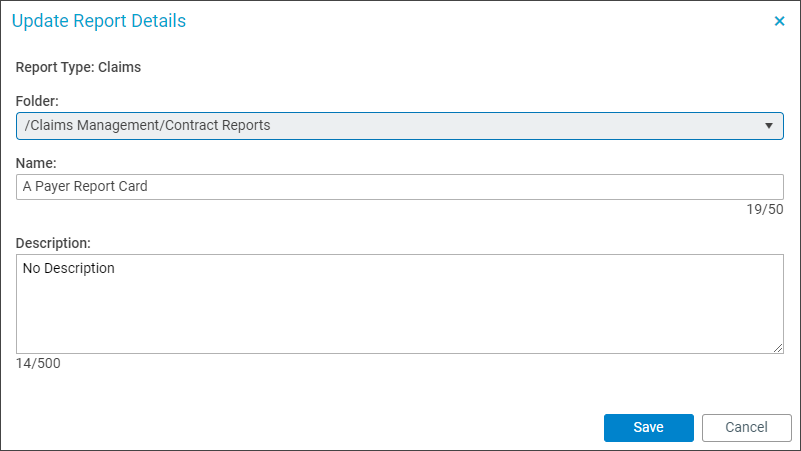
-
In the Folder drop-down menu, select the new folder for the report.
-
Click Save.
View the list of reports in a folder
Click the folder name to display the reports in that folder.
Summary details about the report include:
-
Report name
-
Description
-
Tab on which the report was created
-
User who created the report
-
Date on which the report was created
-
User who last modified the report
-
Date on which the report was last modified
The following table lists icons and settings for the current report.
| Name | Icon | Result | Actions include: |
| View |

|
[Report Name] view |
Generate the report to the UI Add and manage Groupings and Measures Filter rows Switch data view (hierarchical or flat) |
| Details |
|
Update Report Details dialog box |
Move report to new folder Rename report Add/edit description |
| Design |

|
[Report Name] view |
Add/edit Groupings Add/edit Measures Add/delete applied filters Switch data view (hierarchical or flat) Generate the report Export report to Excel without generating the report |
| Excel |

|
Downloads pop-up (depending on Windows settings) | Export report to Excel without generating the report |
Edit report summary information
In addition to viewing report summary information, you can edit the report name, description, and folder location.
-
Select the report under Report Categories (left pane).
-
On that report’s row, click the Details (
) icon to open the Update Report Details dialog box.
-
From the Folder drop-down menu, select the new folder in which to move the report.
-
Edit the Name of the report.
-
Edit the report’s Description.
-
Click Save.
