Editing a dimension
NOTE: If this is your first time using the Dimension Maintenance Utility, be sure to read the following About editing dimensions before you begin.
For more information, see Adding validations.
To edit a dimension:
-
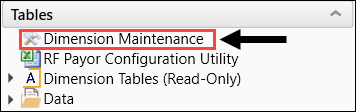
In the RF Admin task pane, in the Tables section, double-click Dimension Maintenance.
-
In the Refresh Variables dialog, do the following:
-
In the Select The Product To Edit drop-down, select the product.
NOTE: The list of products that display is determined by the Axiom product licenses that your organization owns.
-
In the Select a Dimension to Edit drop-down, select the dimension.
- In the Optional Data Filter field, do one of the following:
- Type a filter syntax.
- To select an existing filter or create a filter that you can save for later use, click Select Filter.
-
Click OK.
TIP: To retrieve a smaller subset of data, you can use the Quick Filter in the Workbook Options of the Main ribbon tab. For detailed instructions on how to use the feature, see Applying a Quick Filter to a report.
-
-
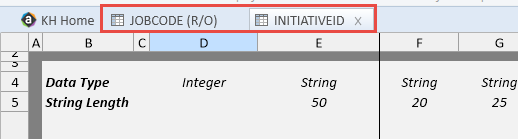
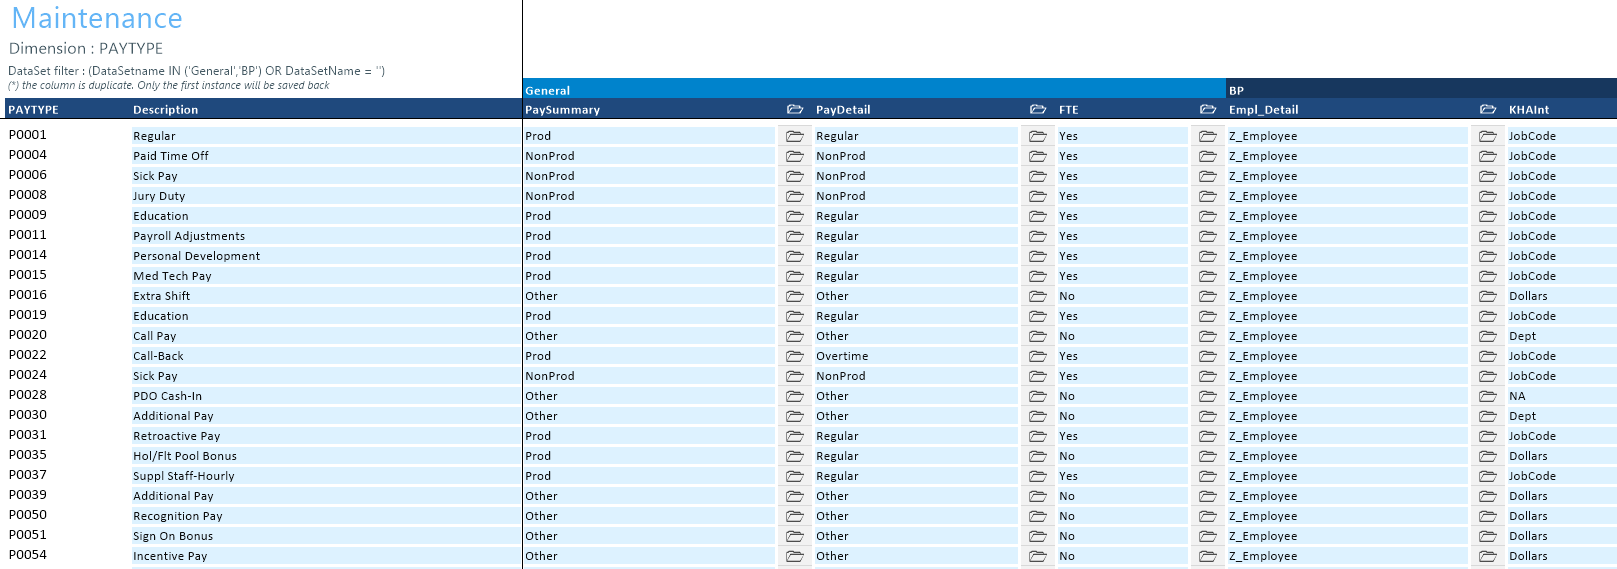
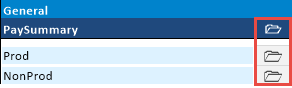
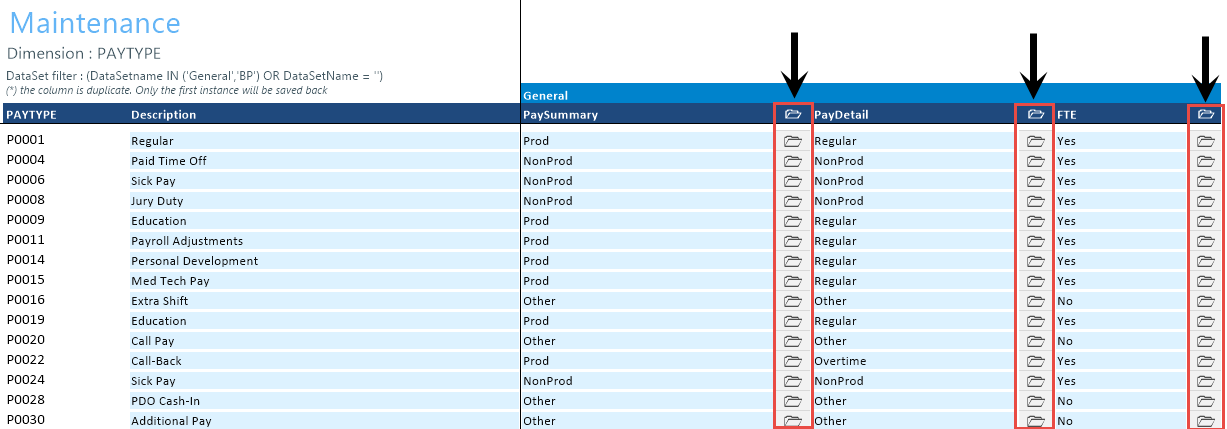
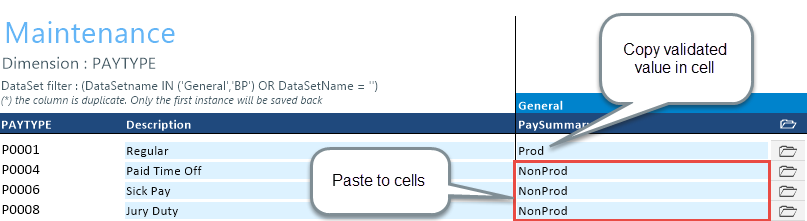
Enter the dimension member attribute information in the appropriate cells. You can type a value in the cell free-form or select from a list of existing validated values. These are represented with a folder icon next to the grouping column. You can do one of the following to enter validated values:
-
Next to the column, double-click the folder icon. In the Choose Value dialog, select the value, and click OK.
-
If you have a large number of entries to make, instead of opening each folder, you can copy and paste the validated value to other cells in the same column.
IMPORTANT: Do not change the format of cells in dimensions (e.g., number, date, percentage, and so on).
-
-
After you finish making your changes, in the Main ribbon tab, click Save.
NOTE: If a column is missing, then it is assigned to a different dimension or not assigned. For more information, see Assigning an existing grouping column to a dataset (product).
