Distributions Tab
The Distribution of your PPE Report is where you define the physician(s) of interest for your report, including time period and other parameters.

To create a new distribution, click + Add Distribution in the top right corner.

Distribution Actions
- Click View Runs to see all files associated with the distribution.
- Click Create PDFs and select your Report(s) to generate PDFs.
- Click Copy to duplicate your distribution.
- Click Edit to customize the distribution.
All four of the above actions are also available when viewing a distribution. Click the name of a distribution to view it, then select one of the four actions in the top right corner.

Edit and Create PDFs are discussed in more detail below. See the Files Tab for more information about View Runs.
Adding/Editing a Distribution
Click +Add Distribution, or click a distribution and click Edit to enter the Distribution Editor.
The Distribution Editor page has five main parts:
- Select the settings for the distribution.
- Draft the email for sending the report link.
- Select the physician(s) for the distribution.
- Select the facility or facilities to pull data for.
- Select the report that you wish to use for the physicians and settings selected in the distribution.
Distribution Settings
At the top of the Distribution Editor screen, there are several settings to select the Grouping Type, Time Periods, Physician Role(s), and Patient Type for your report. These settings will apply to all sections of your report.

If this looks familiar to you, remember that these settings are similar to the default settings for PPE Reporting, where you selected the options for sample reports.
Settings fields include:
| Field | Description |
|---|---|
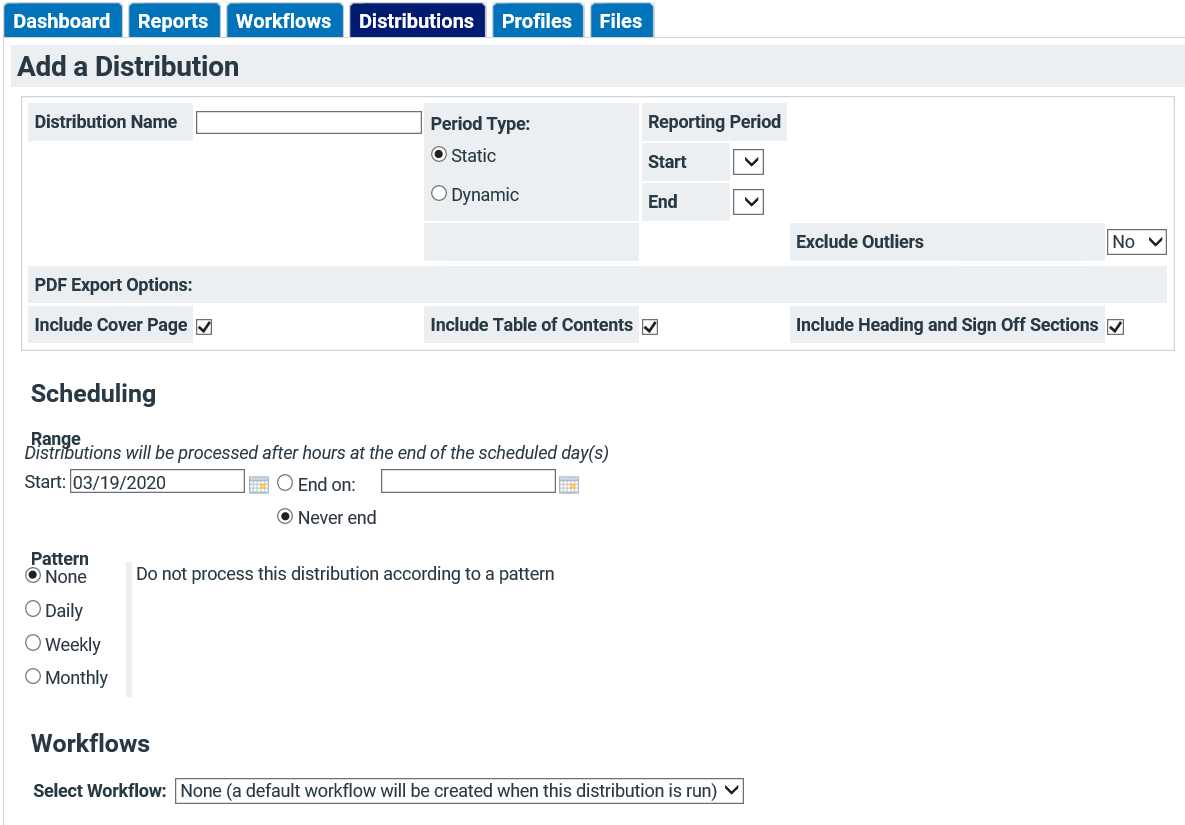
| Distribution Name | Enter a name for your distribution. |
| DRG Type | Choose between APR-DRG and MS-DRG for benchmark calculations. See Grouping Types for more information. |
| Physician Role | Choose the applicable role(s) for the physicians and/or specialties you selected; not selecting a role will return all encounters with any of the selected physician(s) in any role. Options include: Axiom Attributed Physician, Attending Physician, Operating Physician, Other Physician, Anesthesiologist, Consulting Physician, Admitting Physician, Referring Physician, Obstetrician, and Emergency Department Physician. |
| Patient Type | Select the patient type of the encounters you would like included in the report. |
| Period Type | Choose Static to set the period for certain months. Choose Dynamic to use new data as it becomes available. |
| Previous Period (if Period Type is Static) | Choose start and end dates for the previous period. This is the period the system will use for benchmark data. |
| Current Period (if Period Type is Static) | Choose start and end dates for the current period. This is the period of data the system will use to populate the report. |
| Previous Period (if Period Type is Dynamic) | Previous period is always the most recent month, 3 months, or year prior to the current period. This is the period the system will use for benchmark data. |
| Current Period (if Period Type is Dynamic) | Choose from the most recent month, 3 months, or year. This is the period of data the system will use to populate the report. |
| Exclude Outliers | Excluding outliers removes all LOS Outlier encounters from the data in the report. See LOS Outlier Calculation for more details. |
PDF Export Options
PDF Export Options at the bottom of the distribution settings give you even more control over your report.

Select if you would like to include a cover page, table of contents, and/or Heading and Sign Off Sections in your PDF by checking the boxes next to the names.
Email Settings
Email distributions allow you to email report links or PDF attachments of PPE Reports directly to physicians. You can customize the email contents, or use the default email already created.
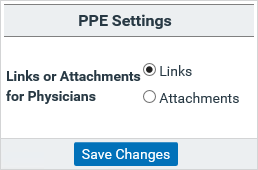
Depending on your PPE Report settings in Clinical Analytics Administration on the Settings Tab, recipients will see:
- a link in the email they receive from Axiom Clinical Analytics; clicking the link will take them online to Clinical Analytics to view the report.
- a PDF attachment in the email they receive from Clinical Analytics; recipients can open, save, or distribute the PDF.
If you don’t want to email report links, you do not need to complete these settings.
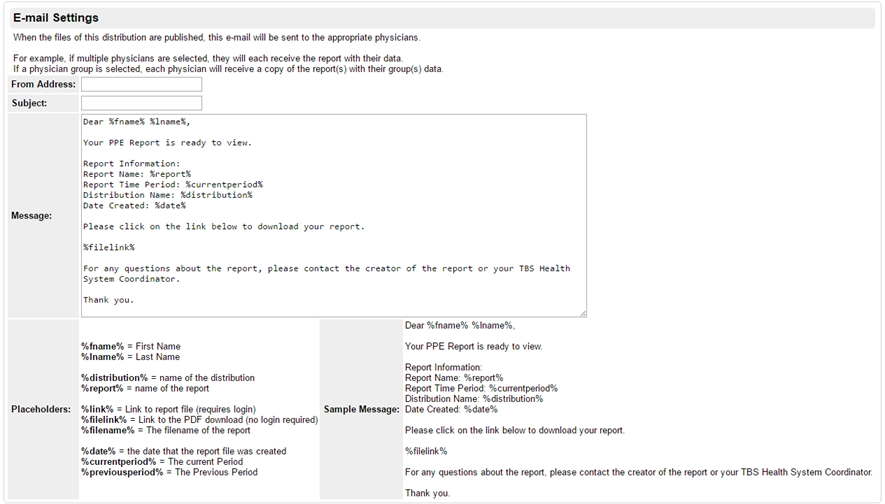
- Enter the email address you want the email to be from.
- Enter a Subject for the email.
- Review and modify the body of the email. Notice there are %tags% that Clinical Analytics will fill in with the personalized information for the recipient, including his or her name, report info, and report link.
Physician Selection
The physician choice section is a searchable list of all the physicians in the system. Use sorting and/or filtering to select the physician(s) you want to generate reports for. See Table Functionality for more details.

- Check the box(es) next to the physician(s) you want to create reports for, or click the check box at the top to select all the physicians in the current list.
- If you choose more than one physician, the system generates a report for each physician.
- If a physician does not have an email address, he or she cannot receive the report link. Physician information is managed in Clinical Analytics Administration.
Select Physicians By Group
By clicking the Select drop-down, you can choose your physicians by group instead of individually. Select if you would like a separate report for each physician, or one report for each physician group.
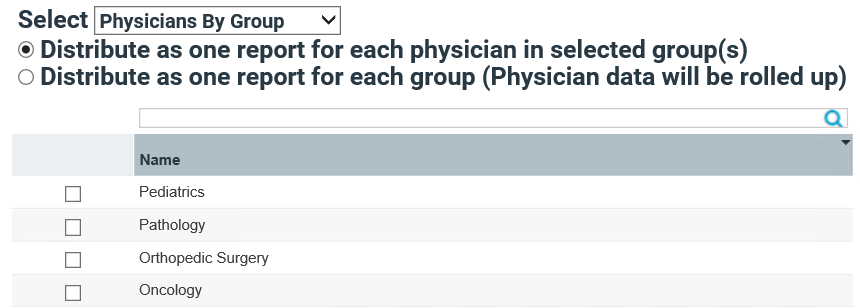
Search for and select the physician group(s) you would like to run the report for. Physician groups are managed in Clinical Analytics Administration.
Facility Selection
Select all of the facilities you would like included in the physician report.
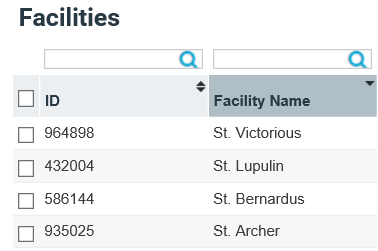
If a physician works across several facilities, you can select all facilities to capture data for all of the physician’s encounters, or select a specific facility to see the physician’s cases at a certain location.
Report Selection
Select one or more default reports for this distribution to be associated with.
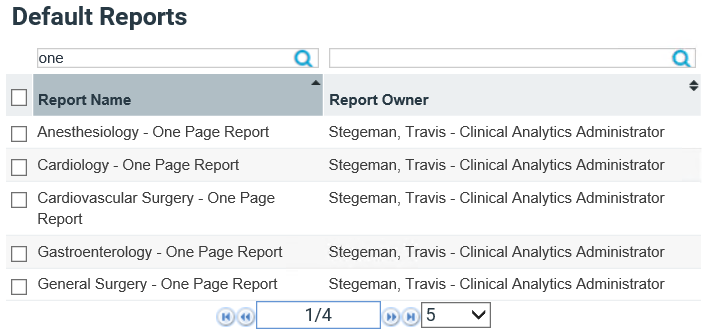
Sort and/or filter the list to find your report(s).
Save and Exit
When you are finished choosing settings and physicians, click Submit under the settings section. Clicking Cancel will exit the Distribution Editor without saving.
Distribute/Create PDFs
After you have created profiles, customized a report, and designed a distribution, you can run the distribution file to generate PDF reports.
NOTE: Use this method from the Distributions Tab to pair one or more reports with a single distribution. To pair one or more distributions with a single report structure, click Distribute on the Reports Tab.
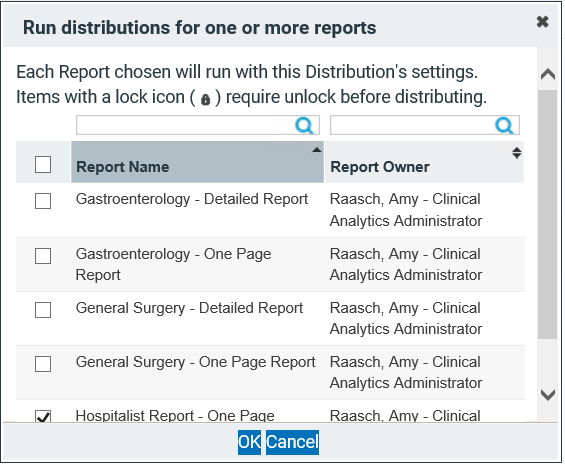
- Find the distribution in the list you want to run and click Create PDFs in the Actions column or open the distribution and click Create PDFs.
- Check the box(es) next to one or more reports to run, then click OK.
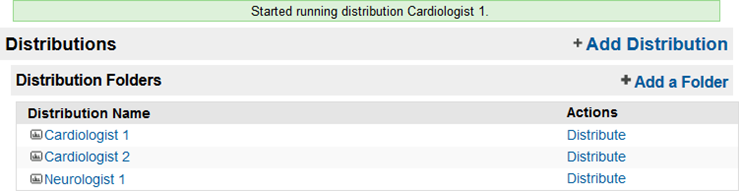
- Clicking OK takes you back to the tab you came from and displays a green confirmation message, informing you that the distributions are running. Distributions run over night so they do not affect system performance for users during the day.
- See Files Tab for instructions about retrieving your report files.