Managing folders
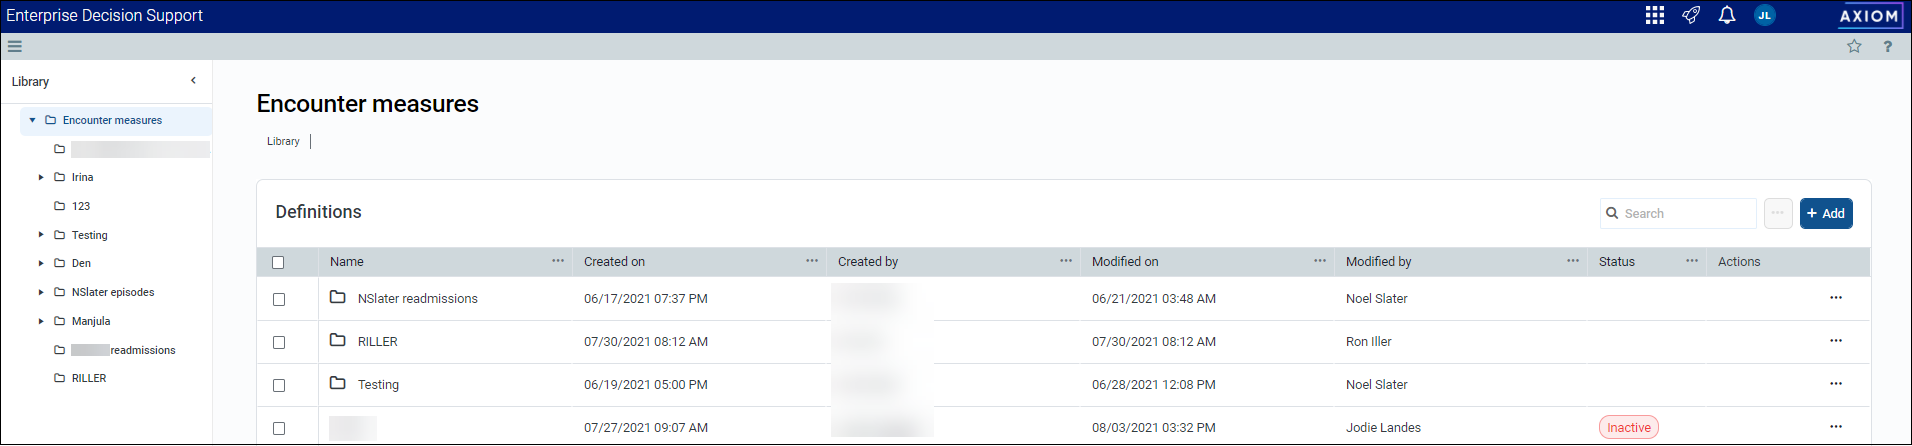
In the definition table, you can create folders to organize multiple episode and readmission definitions in a way that makes sense to your organization. To filter the list, click the ellipsis (...) in any of the columns in which to filter. You can also search for a specific folder or definition by typing its name in the search box in the upper right corner of the page.
Accessing folders
From the Enterprise Decision Support home page, in the Encounter analysis section, click Define encounter rules.
Adding a folder
After creating a folder, it will display at the top of the table.
To add or edit a folder:
-
In the upper left corner of the page, click + Add, and from the drop-down, select Folder.
-
In the Add folder dialog, type the folder name, and click Add.
NOTE: The folder name must be unique.
Editing a folder name
To edit a folder name:
-
In the Actions column, click the ellipsis (...), and from the drop-down, select Edit.
-
In the Folder details panel, change the folder's name.
-
Click Save.
Adding, editing, or deleting definitions in a folder
To add or edit a definition in a folder:
-
In the Name column, click the folder name.
-
Do one of the following:
-
To add a definition, click Add, and from the drop-down select Episode or Return.
-
To edit a definition, click the ellipsis (...), and from the drop-down, select Edit.
-
-
Complete the definition by following the instructions in one of the following topics: Adding or editing an episode definition or Adding or editing a return definition
Moving a folder
Axiom allows you to move folders to organize the list the way it makes sense to your organization.
To move a folder
-
In the Actions column, click the ellipsis (...), and from the drop-down, select Move.
-
In the Move dialog, select a location, and click Move.
Deleting a folder
Folders that contain definitions cannot be deleted.
To delete a folder:
-
In the Actions column, click the ellipsis (...), and from the drop-down, select Delete.
-
At the confirmation prompt, click OK.
