Editing a dimension
The Dimension Maintenance Utility allows you to edit the grouping columns for one or more products, but the product options available to you depend on the role assigned to you. Axiom Financial Planning administrators have rights to Financial Planning dimensions, Axiom Capital Planning and Capital Tracking administrators have rights to Capital dimensions, and so on.
TIP: You never edit database tables directly in the database. Instead, data is pulled into spreadsheets, where you can edit the data and then subsequently save it back to the database.
The columns that display depend on what products each column is assigned to using the Data Set Assignment.
When editing dimensions, keep in mind the following:
- The products you select determine the columns you can view.
- The dimension you select determines the table you can edit.
- Your role determines the records you can edit.
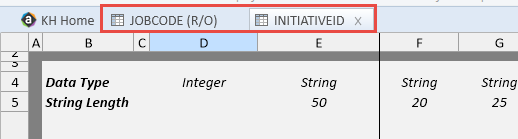
Some dimensions are not included in the Dimension Maintenance Utility. You can continue to access and modify these dimensions from the Axiom product's Admin task pane, as usual. If the dimension you open displays as read-only, this means that you need to use the Dimension Maintenance Utility to modify it. For example, in Axiom Budgeting, when you open the DEPT dimension from Bud Admin task pane > Budget System Maintenance > View Dimension Tables, the tab displays DEPT R/O. Though you can view the dimension, you need to use the Dimension Maintenance Utility to edit it. On the other hand, if you open the INITIATIVEID dimension, the tab does not display R/O. This means that you can modify the dimension as usual. This is because the INITIATIVEID table is not included in the list of tables that are maintained via the Dimension Maintenance Utility. For a list of dimensions not included in the Dimension Maintenance Utility, see the Overview section.
IMPORTANT: Edit dimension data with extreme care, as any errors introduced could cause problems throughout the system. Do not modify fields not described in Axiom documentation.
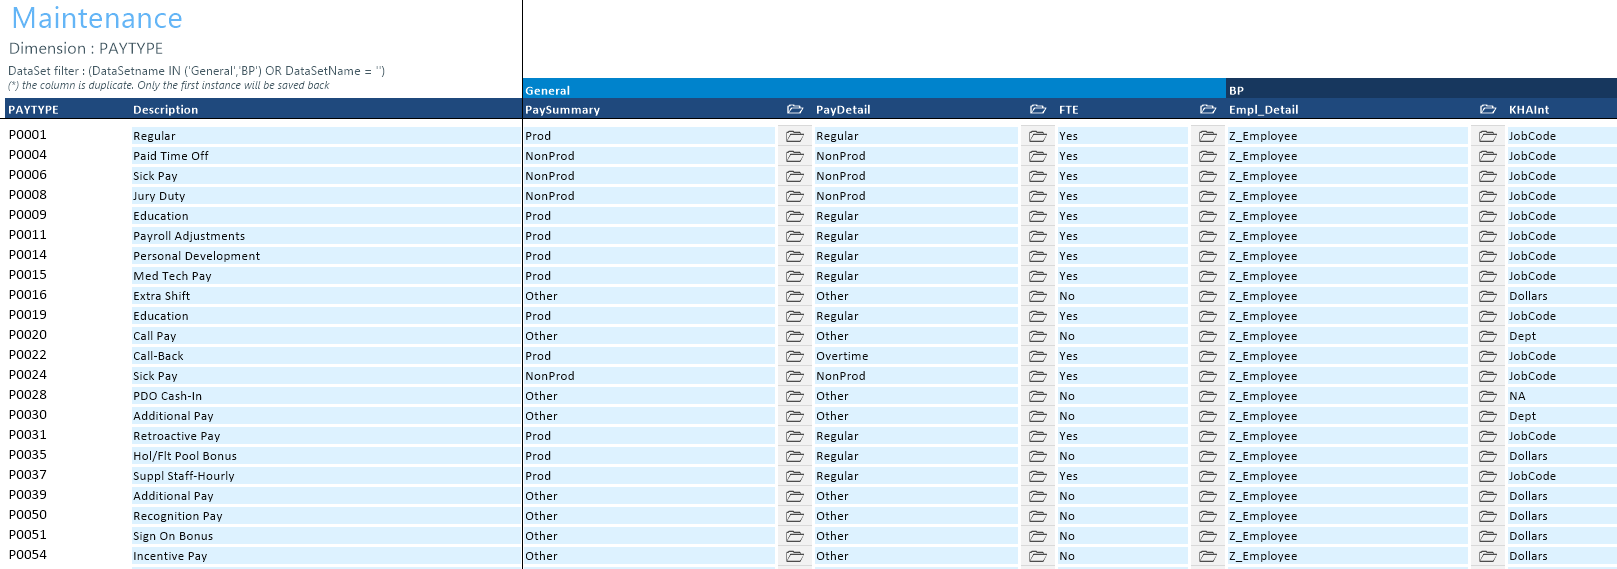
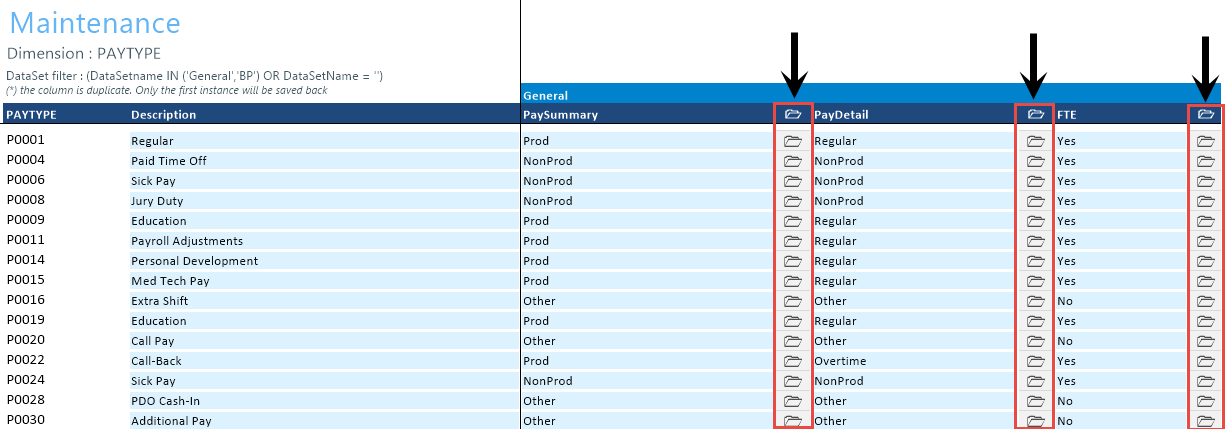
After you select the product(s) and dimension to edit, the Dimension Maintenance Utility refreshes itself and displays the different products and the columns that belong to them for the dimension. As seen in the following example, the columns display in groups.
TIP: It is not always necessary to populate every field. Enter as much information in the dimension table as you have available.
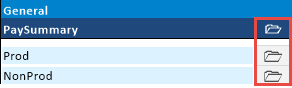
In the blue cells, you can do the following:
-
Choose from a list of validated values by double-clicking the folder in the column next to the grouping column.
- Enter free-form values, though we recommend that you take into consideration any existing values or rules for that column.
Grouping columns tagged as General display first, as shown in the previous example. General columns are typical reference fields leveraged by multiple products. Each subsequent grouping displays based on the products you selected. Records display depending on the security assigned to you. For example, if a no write filter is assigned for that member, the dimension will return no records. For more information, see Editing the security rights for a user.
IMPORTANT: If you are not sure whether to edit a cell, contact your system administrator.
Some columns in dimensions tables are validated, allowing only certain predefined values. If you enter an invalid value, an error will occur when you save, specifying the cell so you may make a correction and save again.
The following are examples of validated columns:
-
RFCODE.RFStdLine – Used during the reporting process to identify the standard financial statement categories to use for each RFCode category. (Same as Acct.FSDetail in Axiom Management Reporting.)
-
RFCODE.RFType – Used during the forecast workbook interface process to define the categories within each model that an account or account group will be categorized into. (Similar to BudgetType in the traditional budget workbooks.)
For more information, see Adding validations.
To edit a dimension:
-
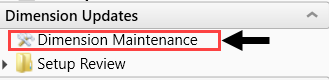
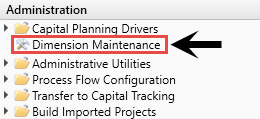
In the RF Admin task pane, in the Dimension Update section, double-click Dimension Maintenance.
-
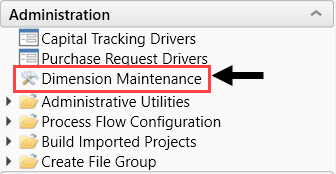
In the Cap Plan Admin task pane, in the Administration section, double-click Dimension Maintenance.
-
In the Cap Track Admin task pane, in the Administration section, double-click Dimension Maintenance.
-
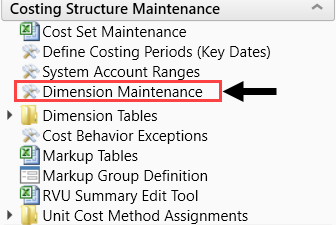
In the Cost Accounting Admin task pane, in the Costing Structure Maintenance section, double-click Dimension Maintenance.
-
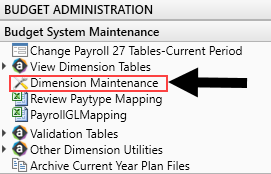
In the Bud Admin task pane, in the Budget System Maintenance section, double-click Dimension Maintenance.
-
In the Refresh Variables dialog, do the following, and click OK:
-
In the Select The Product To Edit drop-down, select the product.
NOTE: The list of products that display is determined by the Axiom product licenses that your organization owns.
-
In the Select a Dimension to Edit drop-down, select the dimension.
- In the Optional Data Filter field, do one of the following:
- Type a filter syntax.
- To select an existing filter or create a filter that you can save for later use, click Select Filter.
-
-
To retrieve a smaller subset of data, you can use the Quick Filter in the Workbook Options of the Main ribbon tab.
For detailed instructions on how to use the feature, see Applying a Quick Filter to a report.
-
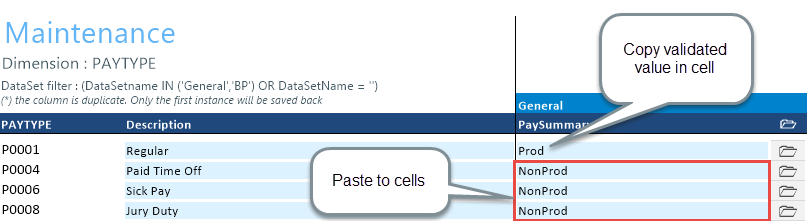
Enter the dimension member attribute information in the appropriate cells. You can type a value in the cell free-form or select from a list of existing validated values. These are represented with a folder icon next to the grouping column. You can do one of the following to enter validated values:
-
Next to the column, double-click the folder icon. In the Choose Value dialog, select the value, and click OK.
-
If you have a large number of entries to make, instead of opening each folder, you can copy and paste the validated value to other cells in the same column.
IMPORTANT: Do not change the format of cells in dimensions (e.g., number, date, percentage, and so on).
-
-
After you finish making your changes, in the Main ribbon tab, click Save.
NOTE: If a column is missing, then it is assigned to a different dimension or not assigned. For more information, see Assigning an existing grouping column to a dataset (product).
