Using the Filter Wizard
You can use or create your own filters to customize the data to view. The Filter Wizard walks you through the process of building complex limit query filters, rather than having to construct them manually. You can create and save new filters for future use as well as use and edit existing filters.
Using an existing filter
To use an existing filter
-
Next to the Preview field, select the folder icon.

-
In the Filter Library dialog, select the filter to use, and select OK.
- In the Filter Wizard dialog, select Apply.
- Click OK.
Creating a filter
TIP: You can create a new filter from an existing filter by selecting it from the folder icon in the Preview field, and then follow these steps to make the appropriate changes. Make sure to give the filter a new name so that you do not overwrite the existing filter.
-
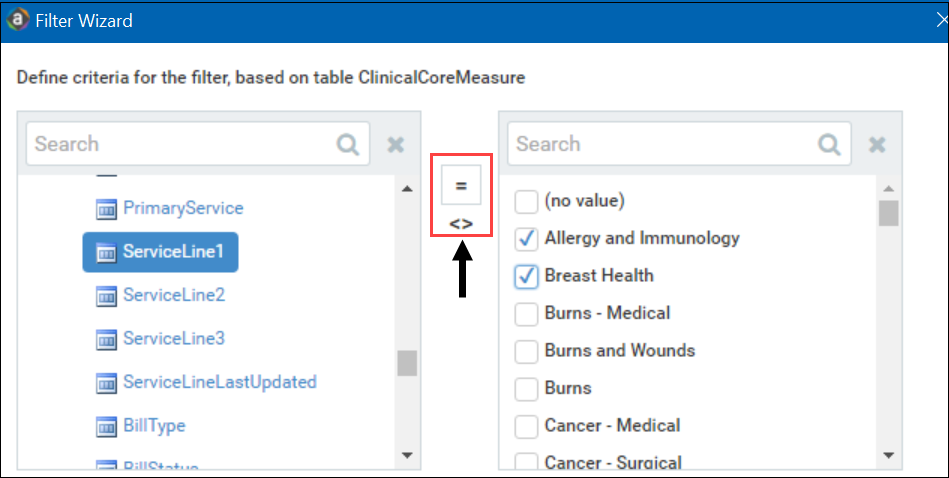
On the left side of the dialog, select the table column on which you want to base the filter. After you select a table column, the values in that column appear in the right side of the dialog.

Click image to view full size
- In the right side of the dialog, enter or select the value on which to base the filter. You can enter information in the field above the list of values to filter the list or to specify a value. If one or more values are selected, then those items are used in the filter. Otherwise, whatever you enter into the field is used by the filter.
-
In the space between the two selection boxes, select the operator to use for the filter criteria statement, such as equals, not equals, greater than, or less than.

Click image to view full size
-
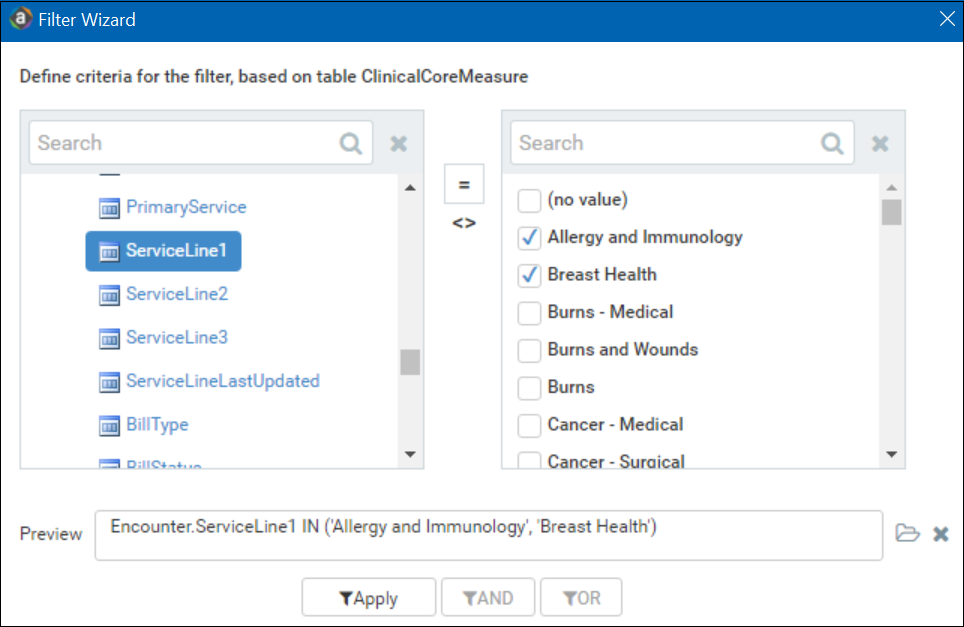
Review the filter criteria statement in the Preview box to ensure that it is as intended. If you need to make changes, edit your selections made above.
NOTE: For instructions about writing filter syntax, see Filter criteria syntax.

Click image to view full size
- Do one of the following:
- If the filter criteria statement is finished, select OK. The Filter Wizard uses the statement in the Preview box (you do not have to select Apply in this case).
- To create a compound filter, select Apply to move the current criteria statement into the Filter box. To create another criteria statement, repeat steps a-d. When the next statement is complete, to join it to the prior statement, select AND or OR.
- In the File name field, enter a name for the filter.
- In the Description field, enter a description of what the filter does.
- Select Save.
- In the Filter Wizard dialog, select OK.