Adding or editing a markup group definition
The Markup Group Definition page provides a centralized location to add, edit, and delete markup groups (previously referred to as markup tables) that are used to reverse engineer the original cost of an item based on the markup percentages or multiplier applied by your organization's purchasing department.
To add or edit a markup group definition:
-
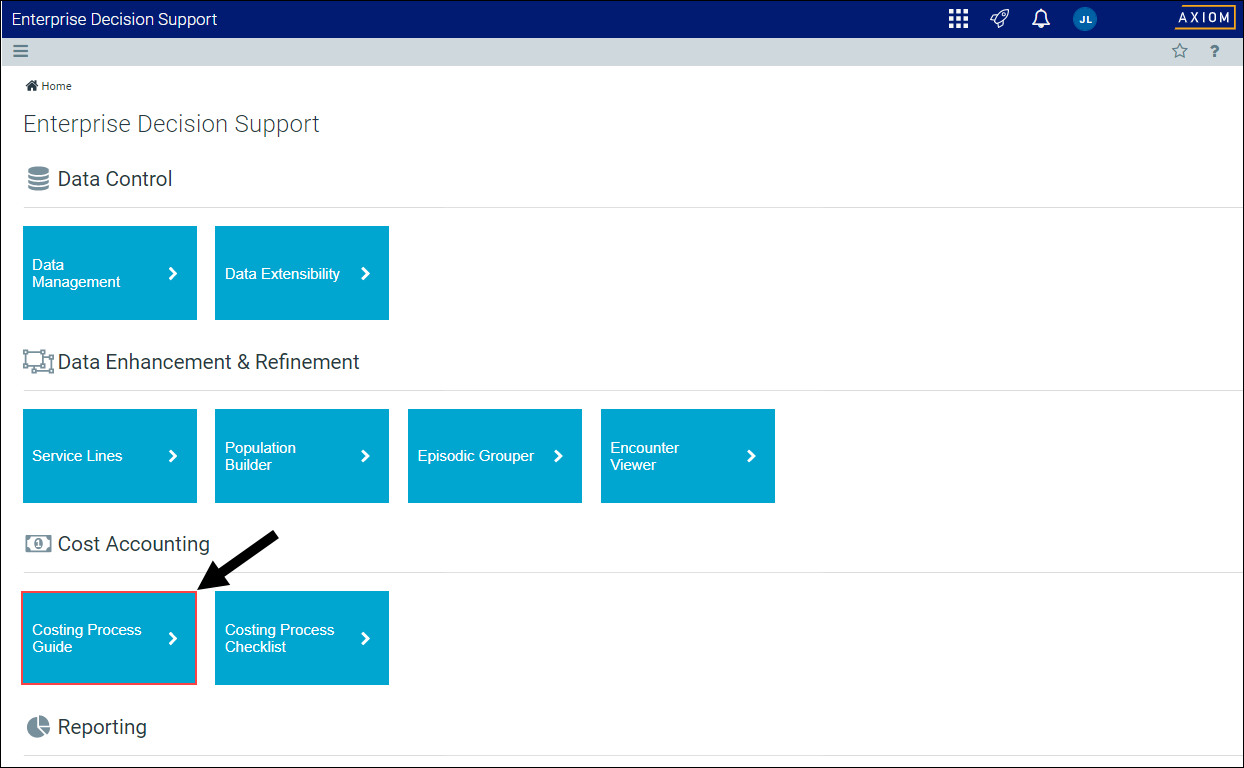
From the Enterprise Decision Support home page, in the Cost Accounting section, click Costing Process Guide > Methods and Assumptions > Assumptions > Manage Markup Group Definitions.

Click image to view full size
- Do one of the following:
- To add, click + Add Markup Group in the top right corner of the page.
To edit, click the definition to highlight it, and click the notepad icon
 .
.

Click image to view full size
-
In the Add/Edit Markup Group Definition dialog, complete the following:
Field Description Title Type the title for the definition. Description Type the details for the definition. Choose Markup Type Select one of the following:
- Markup - Apply markup amounts based on percentage and/or a fixed amount.
- Multiplier - Apply markup amounts using a multiplying factor.
NOTE: This option only displays when you create a new markup group. When you edit an existing markup group, the window displays the markup type.
Tier Level Displays the tier level number. Range Minimum Displays the minimum amount the item must meet to qualify for the tier level.
TIP: This amount is determined by the amount entered in the Range Maximum column from the preceding tier row. For example, if you enter 299.99 in Tier 2, the Range Minimum would display 300 for Tier 3.
Range Maximum Type the maximum amount to define the tier price range. Markup Factor Type the percentage or multiplier markup to apply to the items that fall within the tier price range.
+ Fixed Amount Type an amount to add in addition to the percentage or multiplier markup. This is an optional step.
- Do any of the following, as needed:
- To add more tiers, click + Add Tier at the bottom of the list.
To delete a tier row, click the row to highlight it, and then click the trash bin icon
 in the Action column. At the Delete Markup Tier prompt, click OK.

Click image to view full size
- After making your changes, click Save.