Configuring plan file purging
When setting the number of days to purge, we recommend keeping the number of days to a minimum because it can affect the system performance as a result of storing plan file copies for an extended period of time.
To configure plan file purging:
-
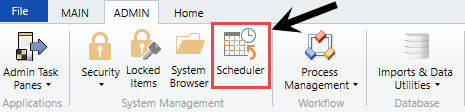
In the Admin ribbon tab, click Scheduler.
-
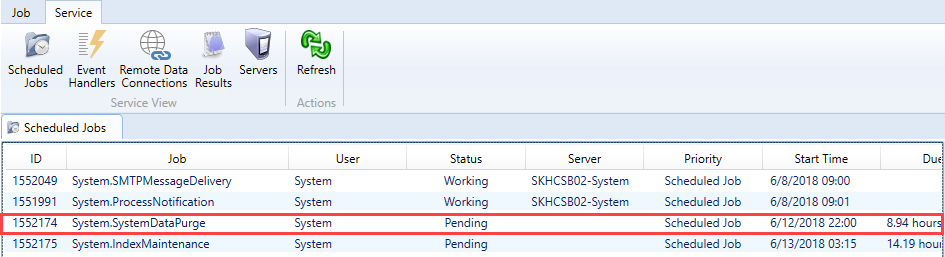
In the Schedule Jobs tab, double-click System.SystemDataPurge.
-
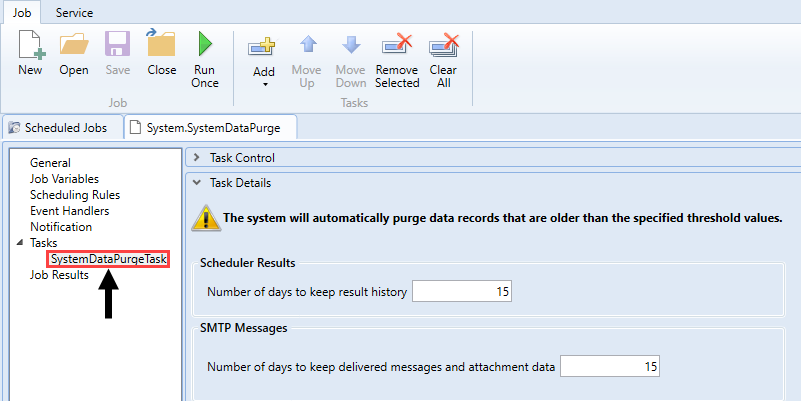
On the left side of the screen, click Tasks > SystemDataPurgeTask.
-
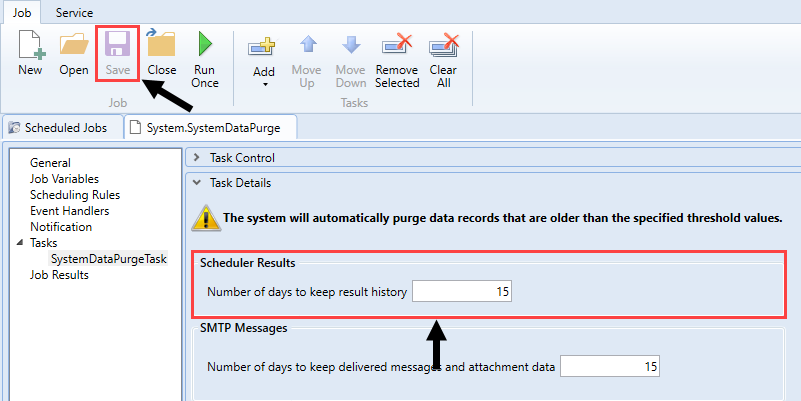
In the Number of days to keep result history field, type the number of days to keep the archived file, and click Save.