Creating or modifying a balance sheet template
The Balance Sheet Template Builder allows anyone with the PR Admin and PR Analyst roles to easily and quickly configure balance sheets for their organization. The templates created using this wizard display to all Axiom Performance Reporting users in the Balance Sheet Viewer.
Template building includes five main steps:
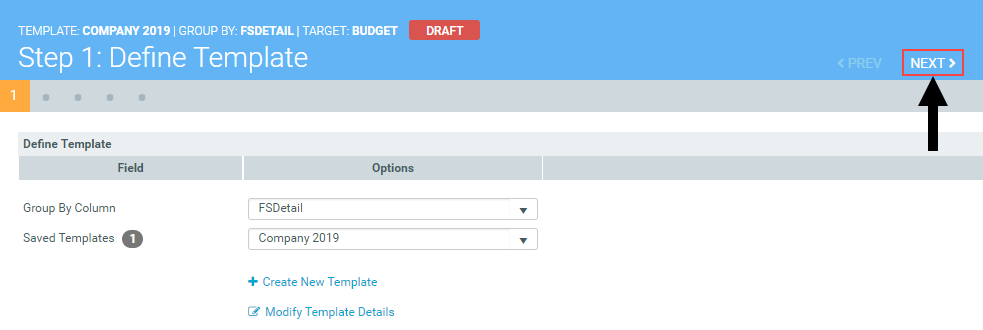
- Step 1: Define the template - Use this page to select the ACCT dimension column in which to pull in data to the balance sheet. By default, the template includes FSSummary and FSDetail. The FSSummary template only displays summary data to users, while FSDetail includes the line item details. You can include other columns in the template builder, but you need to configure them in the ACCT dimension before they will display as an option. For more information, see Configuring ACCT dimension columns for the Income Statement and Balance Sheet Template Builders.
-
Step 2: Define Sections - This step allows you to name the major sections of your balance sheet. By default, pre-loaded names are defined, but you can change them to best meet the needs of your organization. This step also displays the filters used to pull in the data for each section.
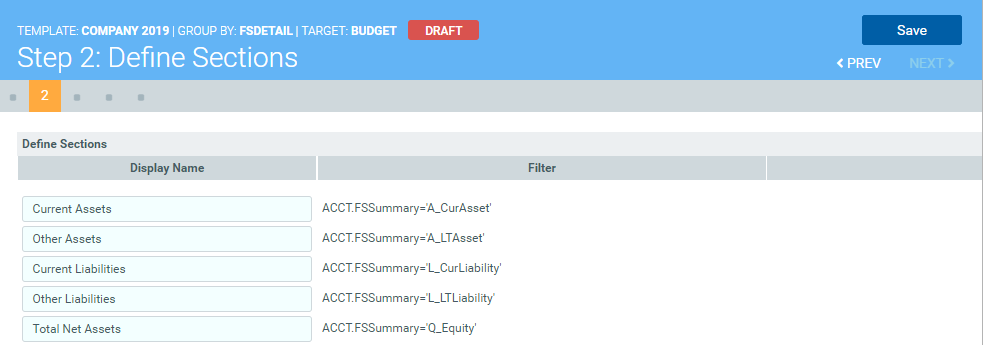
NOTE: These filters cannot be changed, even if using a column other than FSSummary or FSDetail. These filters are based on best practices related to creating balance sheets.
-
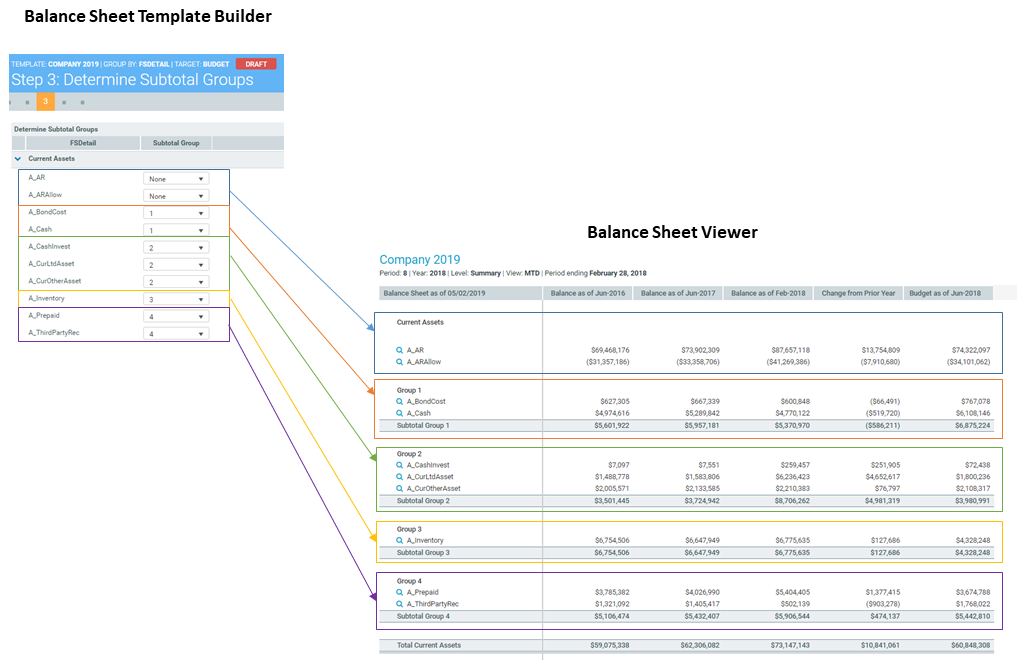
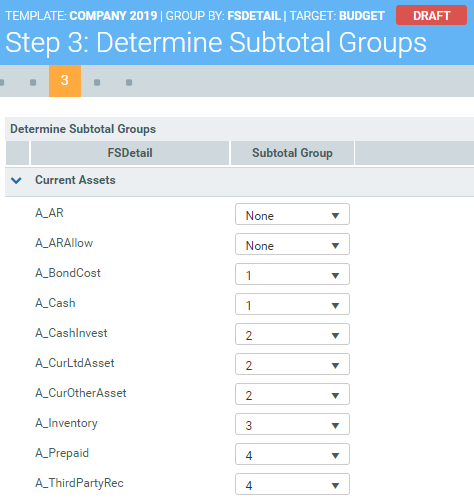
Step 3: Determine Subtotal Groups - Within each section, you can organize data that comes in from the filters into subgroups. The system then displays a subtotal amount for the group.
TIP: Any line items with the subtotal group None automatically display first in balance sheet report, but the system does not subtotal the amounts for those line items.
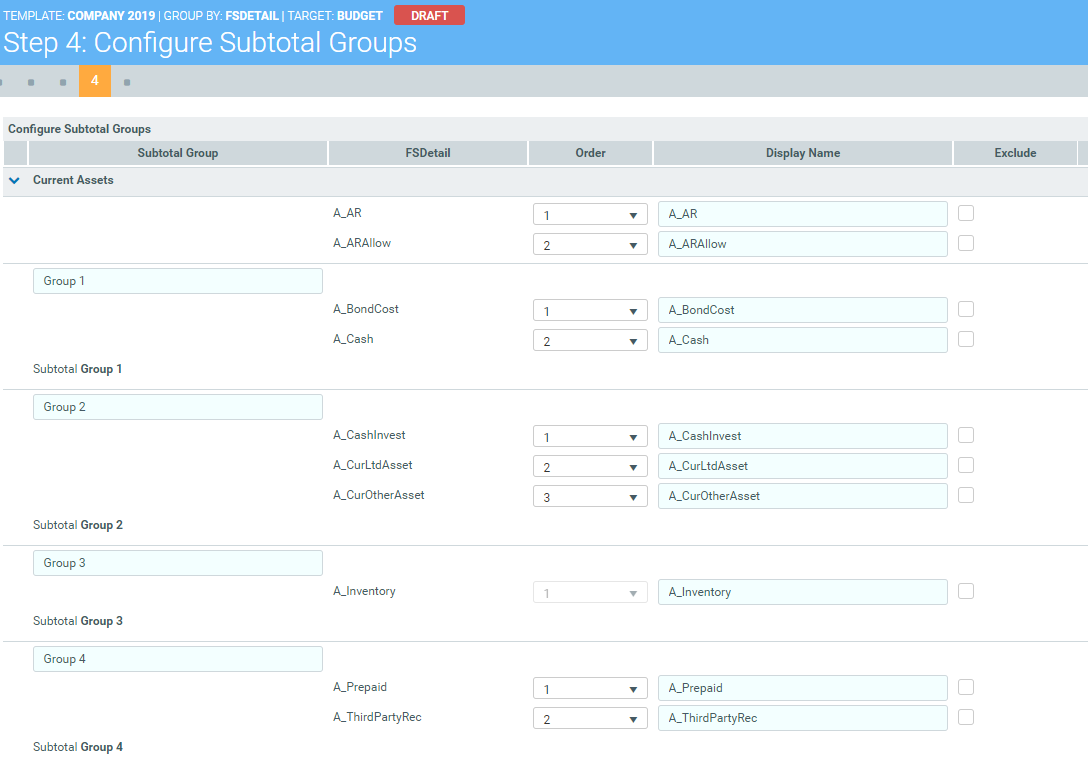
- Step 4: Configure Subtotal Groups - This page allows you to rename the subtotal group as well as the line item detail names from the filter. You can reorder how you want the line item details to display as well as exclude line items, which the system then excludes from the subgroup totals.
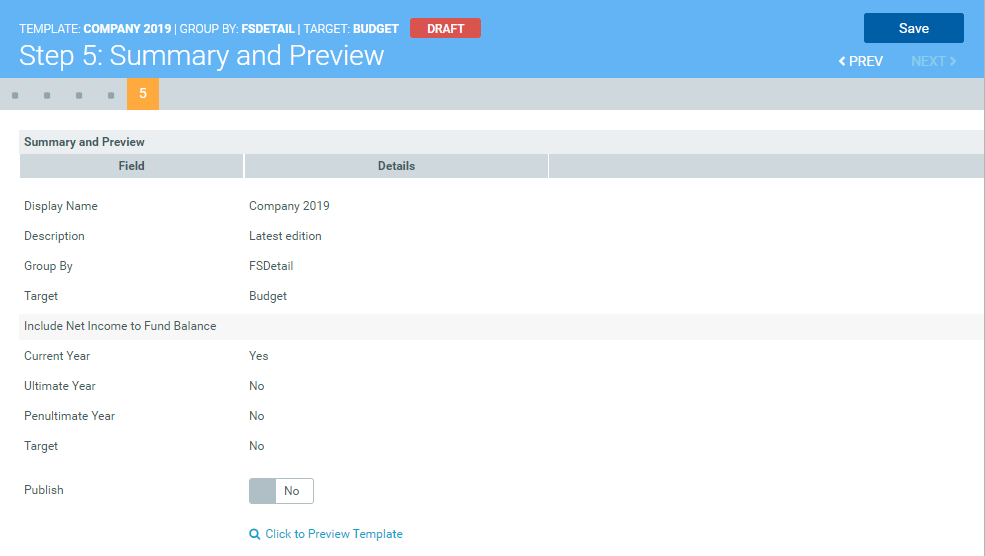
- Step 5: Summary and Preview - From this step, you can preview the template based on the selections and configurations you selected. You can return to the wizard to make any necessary changes. When you are ready to make the template available to users, publish the template, and it will display in the Balance Sheet Viewer.
At the top of the template builder, the system displays the details about the template, including its publication status.
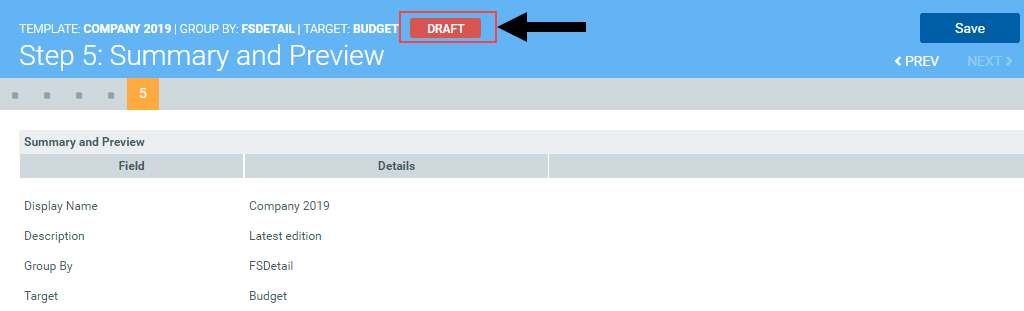
Templates display as one of the following:
-
Pending - The template has not been selected for editing.
NOTE: For Pending templates, you must complete and save the configurations for each step in the order they are presented. After you complete and save all of the steps, the template changes to Draft, at which point you can move around the steps freely to make modifications.
- Draft - Any stage during the creation of the template but before the Publish toggle has been selected.
-
Published - The template has been published to the Balance Sheet Viewer. If the template is unpublished, the status changes back to Draft until it is published again.
NOTE: If you make and save changes to a published template, the system automatically changes the template to Draft, at which point you will need to click the Publish toggle to Yes to publish the template again.
To create or modify a balance sheet template:
-
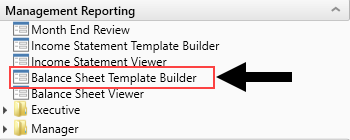
In the Mgmt Admin task pane, in the Management Reporting section, double-click Balance Sheet Template Builder.
-
Do one of the following:
To... Then... Create a new template - From the Group By Column drop-down, select the column in the ACCT dimension table based on the amount and type of data to show.
- Click + Create New Template.
Modify a template - From the Group By Column drop-down, select the ACCT dimension column in which the template is based.
-
From the Saved Templates drop-down, type or select the template to modify.
TIP: After you select the column, the page displays a number next to the Saved Templates title to indicate the number of available templates you can select from.
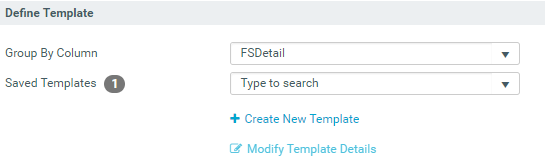
- Click Modify Template Details.
-
In the Create/Modify Template dialog, complete the following fields, and click Save:
Field Description Display Name Type a name for the balance sheet.
TIP: This name displays in filter of the Balance Sheet Viewer as well as the header at the top of the balance sheet page.
Description Type more information about this template.
NOTE: This information only displays in the Balance Sheet Viewer.
Target Select Budget or None. Include Net Income to Fund Balance Select the check box next to the year totals to include in the Net Income row:
NOTE: By default, the balance sheet report includes columns for the current year, -1 year, and -2 year amounts, but these options allows you to configure whether or not to include those amounts in the Net Income row at the bottom of the report.
- Current Year - Include in the current year (based on the system year) totals.
- Ultimate Year - Include the -1 year totals.
- Penultimate Year - Include -2 year totals.
- Target - Include in Budget if selected as target.
-
Click Next.
-
In the Step 2 page, in the Display Name column, modify the names used as section headers in the balance sheet, as needed, and click Save.
TIP: If you build a template based on a column other than FSSummary or FSDetail (especially a customized column), you may want to rename the section headers to best suit the needs of your organization.
- Click Next.
-
In the Step 3 page, from the Subtotal Group column drop-down, you can group individual line item categories into different subtotal groups by selecting a subgroup number, and click Save.
TIP: Any line items with the subtotal group None automatically display first in the balance sheet report, but the system does not subtotal the amounts for those line items.
- Click Next.
- In the Step 4 page, do any of the following, and click Save:
To rename a subtotal group, type a new name in the Subtotal Group column field.
NOTE: This column field only displays if you assign line items to groups in Step 7.
- To reorder the line item, select the order number from the Order column drop-down.
- To change the name of the line item, edit the name in the Display Name column.
To exclude the line item from displaying in the statement, click the check box in the Exclude column.
- Click Next.
- In the Step 5 page, do one of the following:
To show a preview of the template, click Click to Preview Template. For more information on how to navigate the balance sheet, see Steps 2-3 in Viewing balance sheets.
TIP: To fine tune your template, return to the Balance Sheet Template Builder and repeat steps 2-10.
To publish the template to the Balance Sheet Viewer, click the Publish toggle to Yes.