Transferring capital project data to Axiom Financial Planning
If your organization is licensed for Axiom Capital Planning and Axiom Financial Planning, you can transfer capital project data to Axiom Financial Planning using the Transfer Capital Projects to Financial Planning utility.
NOTE: You must have both Capital Planning Administrator and Financial Planning Administrator privileges to access this utility.
The system transfers the following information with the project:
- Capital request number (CAPREQ) and project ID
- Description of the project
- Total requested for the project
- Project type
- Project start year
- Project requestor
NOTE: If you adjust capital project data, you can transfer the project again to update it in Axiom Financial Planning. However, you will need to open and save or rebuild the Financial Planning plan file in Axiom Financial Planning to propagate the changes. If you delete a project in Axiom Capital Planning, you must also delete it in Axiom Financial Planning. For more information on transferring previously-transferred projects, see Managing transferred projects.
Selecting and transferring projects
NOTE: By default, any previously transferred projects will transfer again unless you select them not to. For instructions, see Managing transferred projects.
To select and transfer projects:
-
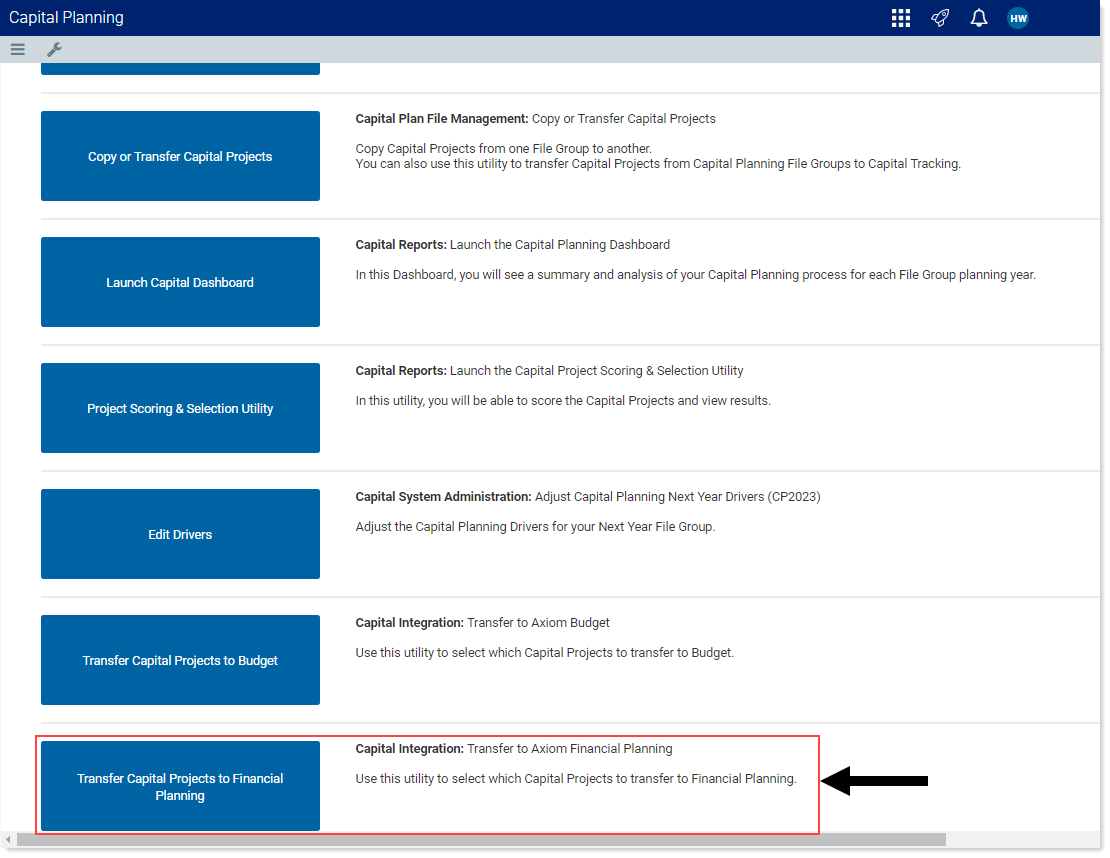
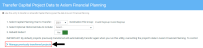
From the Axiom Capital Planning home page, click Transfer Capital Projects to Financial Planning.
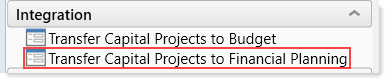
NOTE: To access this location from the Cap Plan Admin task pane, in the Integration section, double-click Transfer Capital Projects to Financial Planning.

Click image to view full size
-
From the Select Capital Planning Year to Transfer drop-down, select the file group planning year in which to transfer projects to Axiom Financial Planning.

Click image to view full size
NOTE: The Destination File Group is preselected as Next Year and cannot be changed.
-
(Optional) From the Select Optional Historical Data to Include drop-down, select the desired years to include, and then click OK.
IMPORTANT: Including historical data may create variances in your historical reconciliations.
- For Rebuild Nodes?, do one of the following:
- To automatically build or rebuild nodes in Axiom Financial Planning after transferring the Capital Planning project data, leave the option set to Yes (the default).
- If you do not want to automatically rebuild nodes, click the toggle to No. If you select No and later change your mind, you can always rebuild the nodes using the Node Rebuild Utility. A link to this utility is presented on the Transfer Summary page when you select No.
- (Optional) If desired, manage previously transferred projects. If this is the first time you have transferred project data using this using this utility, there will not be any projects listed here.
- In the lower part of the page, click Next.
-
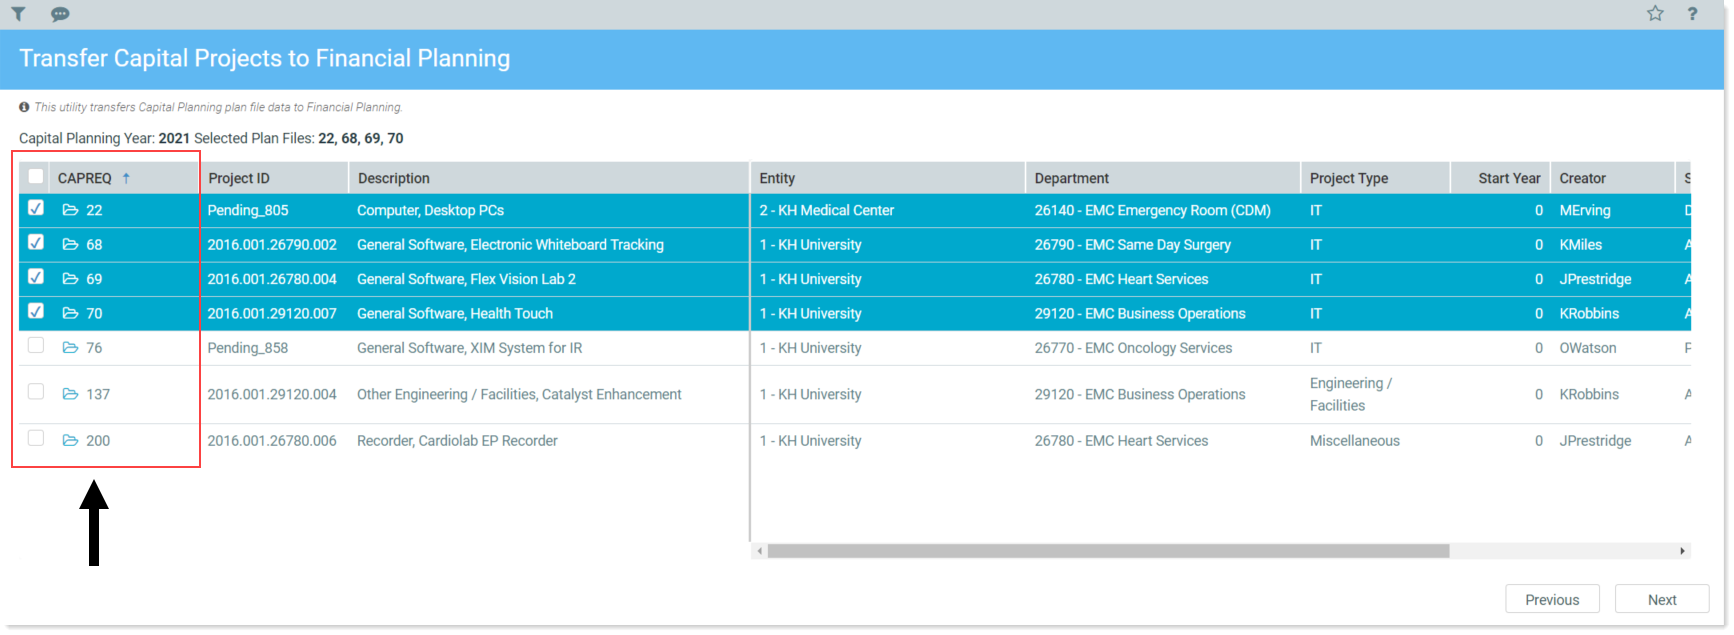
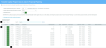
On the next page, select the desired projects to transfer to Axiom Financial Planning. Next to the CAPREQ column, click the check box to select the project(s) to transfer.
TIP: If the list of projects is long, click the filter icon (
 ) on the left in the gray header, and then use the options to filter the list.
Click image to view full size
TIP: To view the plan file for a project, click the folder icon next to the CAPREQ number. The plan file opens in a separate tab. From here, you can make any necessary changes to the project. However, to propagate the changes in the Transfer Capital Projects to Financial Planning utility, you will need to refresh the utility.
-
In the lower right corner of the page, click Next.
-
In the Model column, from the drop-down, select the Model to associate each listed Axiom Capital Planning project to. If desired, in the Node description field, type a new name for each node.
NOTE: To return to the list of projects, for example, if you incorrectly selected a project or forgot to include a project, click Previous.
- In the lower right corner of the page, click Submit, then review the confirmation prompt, and click OK.
- The Transfer Summary page displays the Source File Group you selected and the plan file number of each transferred plan file, including any that were previously transferred. Do any of the following:
- To transfer another project, click the link Click here to transfer another plan file.
If, on the first page of the utility, you did not select to build nodes, click the link Click here to build/rebuild nodes to go to the Node Rebuild Utility in Axiom Financial Planning and build nodes from your imported project data.
If you are finished, close the utility.
For information on how to work with transferred projects in Axiom Financial Planning, see Working with capital projects in Axiom Financial Planning plan files.
By default, projects previously transferred automatically transfer again when you run the Transfer Capital Projects to Financial Planning utility. However, you can control this action by enabling or disabling these projects from transferring again.
To manage transferred projects:
-
Do one of the following:
- If you are already on the first page of the Transfer Capital Projects to Financial Planning utility, skip to step 2.
- In the Cap Plan Admin task pane, in the Integration section, double-click Transfer Capital Projects to Financial Planning.
-
Click Manage previously transferred projects.
Click image to view full size
- Do any of the following:
- To transfer all projects in the list, click Yes. To disable the transfer of all projects, click No.
- To search for a specific project, type project information in the Search box such as the CAPREQ number, the project ID, or description.
- To view the plan file for a project, click the folder icon next to the CAPREQ number. The plan file opens in a separate tab. From here, you can make any necessary changes to the project. However, to propagate the changes in the Transfer Capital Projects to Financial Planning utility, you will need to close it and open it again.
- For individual projects, click the toggle to Yes to transfer the project. Click the toggle to No to disable the transfer.
Click image to view full size
-
Click Next to continue the transfer process as described in step 7 in the "Selecting and transferring projects" section above.
NOTE: The projects you disable from transferring will not display in the list.
Working with capital projects in Axiom Financial Planning plan files
After you transfer capital project data to Axiom Financial Planning and the projects are created as nodes, they display in Open Plan Files dialog where you can select and open them. The new nodes can be used in models, scenarios, and reports. For more information, see the following in the Axiom Financial Planning online help:
- "Working with Financial Analysis reports" – Run reports on nodes, scenarios, financial statements, summary reports, and more.
- "Add an initiative node" – Use initiative nodes to track the volume, revenue, expense, and capital associated with a new project.
- "Working with Scenarios" – Use scenarios to generate and compare forecasts based on different sets of assumptions to get a sense of your organization's finances in various possible future scenarios.
If an Axiom Capital Planning project that you have imported is later updated, you need to re-transfer the project and rebuild the node. For information, see "Rebuilding a node" in the Axiom Financial Planning online help.
Video instructions
