Select the data and years to roll forward
Use these instructions to begin using the Annual Rollforward Utility for rolling financials forward to the next year.
-
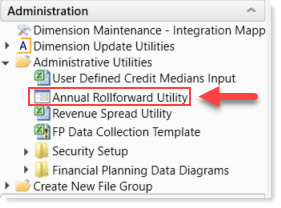
In the Fin Plan Admin task pane, in the Administration section, expand Administrative Utilities.
-
Double-click Annual Rollforward Utility.
-
On the first page of the utility, review the instructions, and then, in the upper right of the page, click NEXT.
On the next page, select the file group to use as the source for your Next Year files. The default source file group is Current Year. For the destination file group, the default is Next Year.
-
On the first configuration page (page two of the utility), from the Source File Group drop-down, select the desired file group year to use as the source data year. This is the year that contains the nodes and data to roll forward. The year you select becomes the first forecast year of the current model.
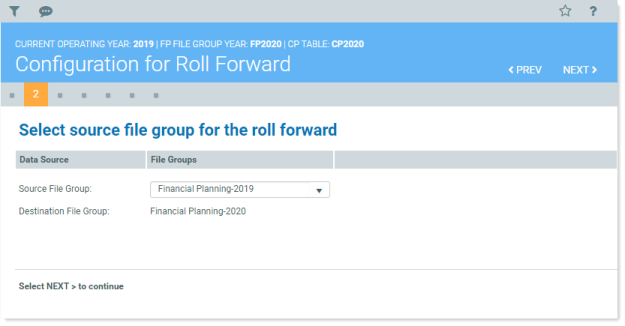
- Click NEXT.
In this step, you select the years that contain the data to be rolled forward.
- On the next configuration page, review the default destination file group years. By default, all years displayed are selected to be copied. Do one of the following:
To include data from all years, leave the toggles set to Yes.
To exclude a year, click the toggle for that year to No.
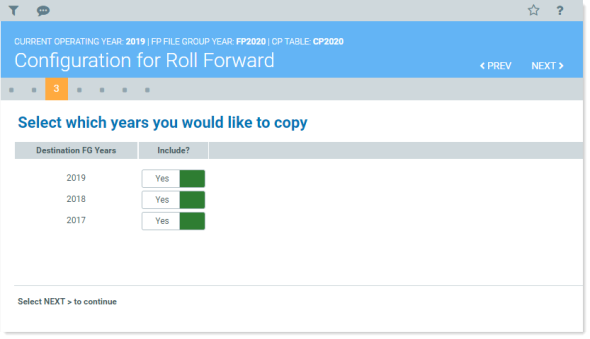
- Click NEXT.
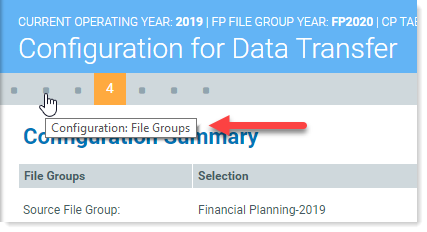
The Configuration Summary page displays a summary of the file groups and file group years/options you selected.
-
Review your selections to be sure they are correct.
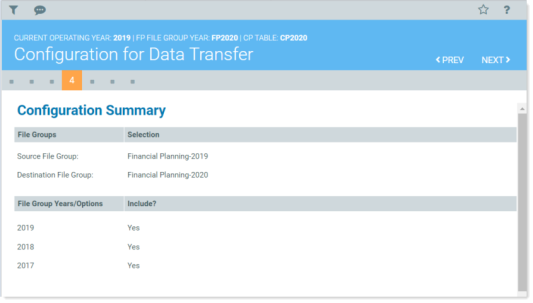
If they are not, go back to the desired page by clicking the PREV button or by clicking the desired page button to go directly to that page.
TIP: Hover your cursor over a button to see the name of the page it accesses, as shown in the following example:
- Click NEXT.
Continue to Step 5: Select models and configure options.
